How to Shuck an Oyster
Master the Art of Oyster Shucking: A Step-by-Step Guide for Beginners
Looking to impress your friends and family with your newfound oyster shucking skills? Look no further! In this step-by-step guide, we will take you on a journey to master the art of oyster shucking. Whether you’re a seafood lover or simply curious about this culinary skill, this guide is tailored specifically for beginners. From selecting the perfect oysters to confidently shucking them with precision, we’ve got you covered. Our expert tips and tricks will not only teach you the techniques but also help you avoid common pitfalls along the way. With our comprehensive instructions and detailed illustrations, you’ll be shucking oysters like a pro in no time. So, grab your shucking knife, put on your apron, and let’s dive into the world of oyster shucking! Get ready to impress and enjoy the fruits of your labor with delicious, fresh oysters that will leave everyone craving for more.

Why Learn to Shuck Oysters?
Oysters are a delicacy loved by many, and being able to shuck them yourself adds a new level of appreciation for these delectable treats. Learning how to shuck oysters not only allows you to enjoy them at home but also opens up a world of culinary possibilities. Imagine being able to impress your guests with a platter of freshly shucked oysters or creating delicious recipes using these delightful morsels. Shucking oysters is a skill that sets you apart, giving you the satisfaction of being able to enjoy oysters whenever you want and share your newfound expertise with others.
Shucking oysters also allows you to have control over the quality and freshness of the oysters you consume. By learning to select the best oysters and shucking them yourself, you can ensure that you’re enjoying the freshest, most flavorful oysters available. So, whether you’re a seafood enthusiast or simply looking to expand your culinary repertoire, learning to shuck oysters is a worthwhile endeavor that will bring joy and satisfaction.
The Tools You’ll Need for Oyster Shucking
Before you dive into the world of oyster shucking, it’s essential to have the right tools at hand. Here are the must-have tools for any aspiring oyster shucker:
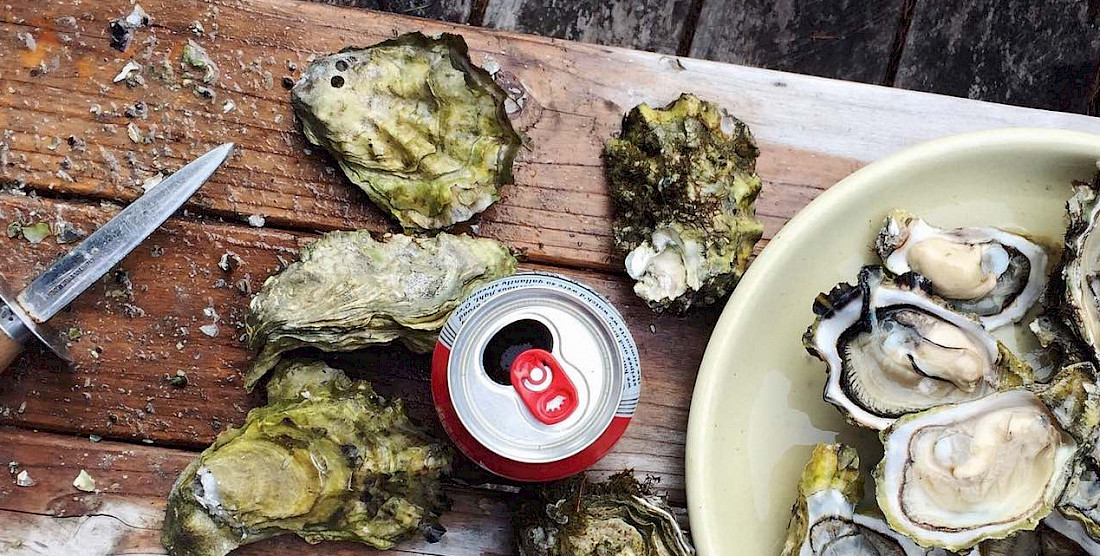
1. Oyster knife: A specialized knife with a short, sturdy blade and a pointed tip designed specifically for shucking oysters. Look for a knife with a comfortable grip to ensure a secure hold during the shucking process.
2. Cut-resistant gloves: While not necessary, cut-resistant gloves provide an extra layer of protection for your hands, especially if you’re new to shucking. They offer peace of mind and prevent accidental cuts while handling the oysters and knife.
3. Towel or cloth: A towel or cloth is essential for holding the oyster securely and providing a non-slip surface during the shucking process. It helps to get a good grip on the oyster and protect your hand from any accidental slips.
Remember, safety should always be a priority when shucking oysters. Having the right tools ensures a smooth and safe shucking experience, allowing you to focus on perfecting your technique without any unnecessary risks.
Safety Precautions When Shucking Oysters
Shucking oysters can be a rewarding experience, but it’s important to exercise caution to avoid any accidents or injuries. Here are some safety precautions to keep in mind while shucking oysters:
- Protect your hand: Always hold the oyster with a towel or cloth to provide a secure grip and prevent any accidental slips. This will protect your hand from potential cuts caused by the oyster knife.
- Use a stable surface: Shuck oysters on a stable surface, such as a cutting board or a towel-lined countertop. This ensures that the oyster and knife remain steady during the shucking process, minimizing the risk of injury.
- Work slowly and carefully: Take your time when shucking oysters, especially if you’re a beginner. Rushing can lead to accidents, so it’s important to work slowly and pay attention to every step of the shucking process.
Remember, practice makes perfect. As you become more comfortable and confident with shucking oysters, you’ll develop your own techniques and find a rhythm that works best for you. Now, let’s dive into the step-by-step guide to shucking oysters and unleash your inner oyster aficionado!
Step-by-Step Guide to Shucking Oysters
Shucking oysters may seem intimidating at first, but with a little practice and guidance, you’ll soon become a pro. Follow these step-by-step instructions to master the art of oyster shucking:
Step 1: Gather your tools and ingredients
Before you begin shucking oysters, make sure you have all the necessary tools and ingredients ready. This includes your oyster knife, cut-resistant gloves (optional), a towel or cloth, and, of course, the oysters themselves. It’s important to work with fresh, high-quality oysters for the best flavor and texture.
Step 2: Clean the oysters
Give the oysters a good rinse under cold water to remove any dirt or debris. Use a brush or scrubbing pad to gently clean the shell, being careful not to damage it.
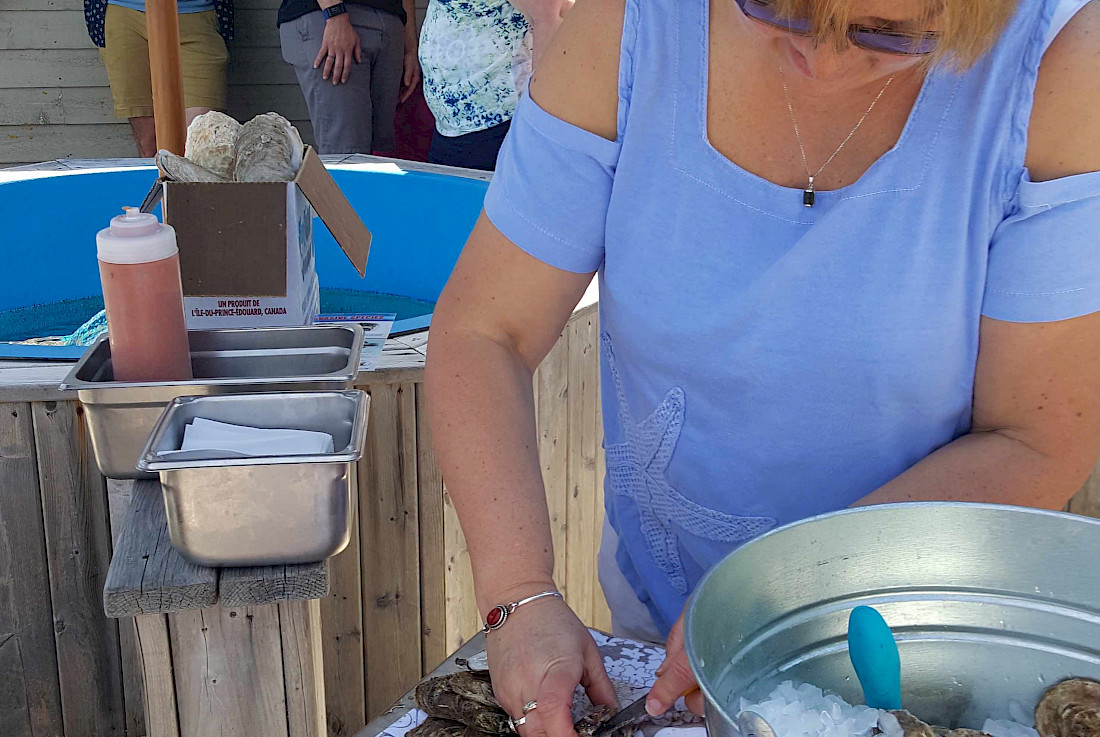
Step 3: Secure the oyster
Hold the oyster firmly with the towel or cloth, ensuring that the hinge (the pointy end of the oyster) is facing towards you. This is where you’ll insert the oyster knife to open the shell.
Step 4: Insert the oyster knife
Hold the oyster knife in your dominant hand, with the blade pointing towards the hinge of the oyster. Insert the tip of the knife into the hinge, applying gentle pressure and wiggling it back and forth to loosen the shell.
Step 5: Twist and pry open the shell
Once the knife is firmly inserted into the hinge, twist it to one side to pry open the shell. Be sure to keep the knife as close to the top shell as possible to avoid damaging the oyster.
Step 6: Cut the muscle
With the shell partially open, use the knife to cut the muscle that attaches the oyster to the bottom shell. Slide the knife along the top shell, separating the oyster from the shell completely.
Step 7: Remove any shell fragments
Inspect the oyster for any shell fragments and remove them carefully with the knife or your fingers. It’s important to remove any stray shell pieces to ensure a pleasant eating experience.
Step 8: Serve and enjoy!
Once the oyster is shucked and free of any shell fragments, it’s ready to be served. You can enjoy the oyster as is or get creative with various toppings and accompaniments. Serve them on a bed of ice or enjoy them straight from the shell. The choice is yours!
By following these step-by-step instructions, you’ll be shucking oysters like a pro in no time. Remember to practice patience and take your time to perfect your technique. Now that you know how to shuck oysters, let’s explore some tips for selecting and storing oysters to ensure the best flavor and quality.
Tips for Selecting and Storing Oysters
Selecting and storing oysters properly is crucial for enjoying the best flavor and quality. Here are some tips to keep in mind:
1. Choose fresh oysters: Look for oysters that are tightly closed or slightly open. Avoid oysters with broken or damaged shells, as they may be spoiled.
2. Buy from reputable sources: Purchase oysters from reputable seafood markets or trusted suppliers to ensure their freshness and quality.
3. Store oysters properly: Keep oysters refrigerated at a temperature of 35°F to 45°F (1°C to 7°C). Store them in a shallow dish, covered with a damp cloth or paper towel to prevent them from drying out.
4. Consume them quickly: Oysters are best consumed within a day or two of purchase. The fresher they are, the better they taste.
By following these tips, you can enjoy the freshest and most flavorful oysters every time you shuck them. Now, let’s explore the different types of oysters and their flavor profiles to expand your oyster knowledge even further.
Different Types of Oysters
Oysters come in various types, each with its own unique flavor profile. Here are some popular types of oysters and their characteristics:
- Pacific Oysters: Pacific oysters are known for their briny, slightly sweet flavor with a crisp texture. They have a clean and refreshing taste that pairs well with citrus-based sauces or mignonettes.
- Eastern Oysters: Eastern oysters are often described as having a balanced flavor profile, with a combination of brininess, sweetness, and a hint of minerality. They are versatile and can be enjoyed both raw and cooked.
- Kumamoto Oysters: Kumamoto oysters are smaller in size and have a buttery, mild flavor. They are often favored by oyster enthusiasts for their sweet, melon-like taste and creamy texture.
- Olympia Oysters: Olympia oysters are native to the Pacific Northwest and are known for their rich, complex flavor. They have a slightly metallic taste with hints of cucumber and melon.
These are just a few examples of the many oyster varieties available. Exploring different types of oysters allows you to discover your personal favorites and experiment with various flavor combinations. Now that you’re familiar with the different types of oysters, let’s move on to some delicious recipes using shucked oysters.
Delicious Recipes Using Shucked Oysters
Shucked oysters are incredibly versatile and can be used in a wide range of recipes. Here are a few delicious ideas to get you started:
1. Oysters Rockefeller: This classic dish features shucked oysters topped with a rich mixture of spinach, herbs, breadcrumbs, and cheese. It’s baked to perfection, creating a flavorful and decadent appetizer.
2. Oyster Po’ Boy: A staple in Louisiana cuisine, the oyster po’ boy is a sandwich filled with crispy fried oysters, lettuce, tomato, and a tangy remoulade sauce. It’s a delicious way to enjoy shucked oysters in a more casual setting.
3. Oyster Stew: Oyster stew is a comforting and creamy dish that showcases the natural flavors of shucked oysters. Combine them with butter, milk or cream, and seasonings for a hearty and satisfying meal.
These are just a few examples of the many ways you can incorporate shucked oysters into your culinary creations. Feel free to experiment and get creative with your own recipes as well. Now, let’s address some frequently asked questions about oyster shucking.
Frequently Asked Questions About Oyster Shucking
1. Is it safe to eat raw oysters? Raw oysters can be enjoyed safely if they are fresh and handled properly. However, individuals with certain health conditions or compromised immune systems should avoid consuming raw oysters.
2. Can I shuck oysters without an oyster knife? While an oyster knife is the recommended tool for shucking oysters, it is possible to use other knives in a pinch. However, using the proper oyster knife ensures a safer and more efficient shucking process.
3. How do I know if an oyster is bad? Spoiled oysters may have a strong, unpleasant odor, or their shells may be cracked or damaged. If in doubt, it’s best to discard any oysters that appear questionable.
4. Can I freeze shucked oysters? Shucked oysters can be frozen, but the texture may change slightly upon thawing. It’s best to consume them fresh for the best flavor and texture.
These are just a few common questions that arise when it comes to shucking oysters. If you have any specific concerns or queries, it’s always best to consult with a trusted seafood expert or your local fishmonger. Now, let’s wrap up our guide to oyster shucking.

Final Thoughts
Congratulations! You’ve reached the end of our comprehensive guide to mastering the art of oyster shucking. We hope that you feel confident and excited to embark on your oyster shucking journey. Remember, practice makes perfect, so don’t be discouraged if your first attempts are not flawless. With time and dedication, you’ll become a skilled oyster shucker, impressing your loved ones with your culinary prowess.
Always prioritize safety when shucking oysters, and don’t hesitate to reach out to experts or professionals for guidance and advice. Explore different types of oysters, experiment with recipes, and savor the joy of enjoying these delicious gems of the sea.
So, grab your shucking knife, put on your apron, and let the art of oyster shucking become a treasured skill in your culinary repertoire. Enjoy the fruits of your labor and delight in the satisfaction of shucking oysters like a pro. Happy shucking!