Travel Tip Tuesday | Antelope Canyon Photography
Photography Tips for Antelope Canyon | The Best of Natural Light
Antelope Canyon, one of the most visited National Parks in the American Southwest is an unforgettable experience. It is also a dream location for photographers, both professional and amateur. Light in the canyon is beautiful and, can present challenges to photographers…it’s tricky! Here are our top five tips to keep in mind when taking photos of this breathtaking natural wonder.
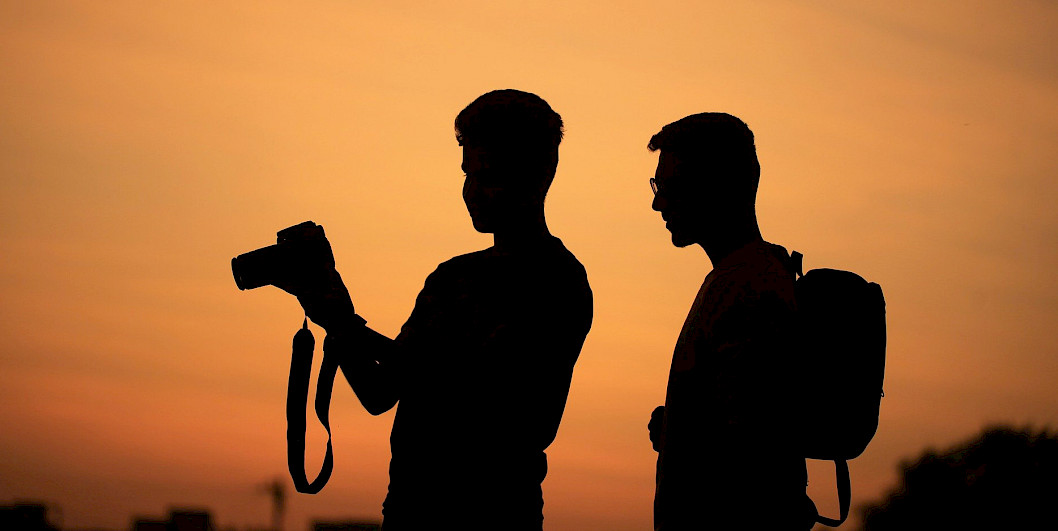
Optimal Shooting Gear
The best lens to use is a wide-angle lens (24mm-50mm or 10mm - 24 mm) in order to capture the full beauty of the canyon. A wide lens will help you capture the contours of the canyon and the streaks of light. For perfection, bring along a tripod, but make sure it is allowed on the tour of the canyon you are taking.
Lens Tips
The canyon is dusty so never change your lens when you are inside it. Never wipe your lens clean with a cloth, the dust can scratch the coating on your lens. Only use a blower to force air across the surface of the lens to remove dust particles It is good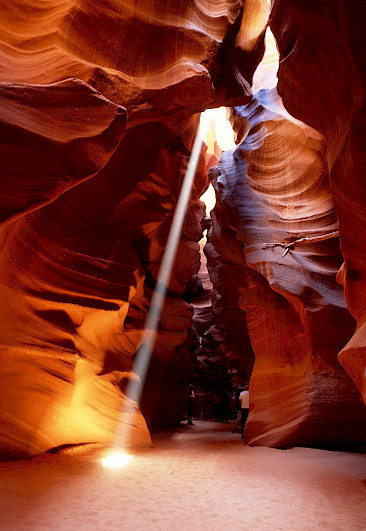
to put a UV/Protector filter on your lens to protect it from the elements.
Best Time to Shoot
Experts agree that the best time to shoot is mid-day, from 11 am to 2 pm between the months of March and October. This is when you have the best chance to shoot the constantly shifting sunbeams. In general, slot canyons offer spectacular light any time of day because of the constantly shifting interplay of shadows and light. The best tip regarding lighting is to shoot is when the light is best around you!
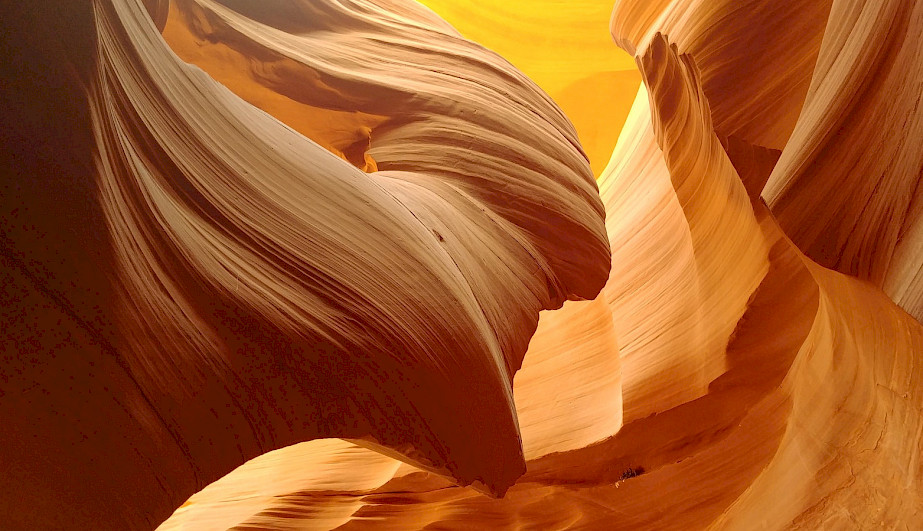
Look for Interesting Shapes and Contours
Take your time when shooting here. Look at the different forms and shapes that have been carved by centuries of wind and water flowing through them. There are so many to be found here. Focus on the shapes and light that intrigue you. Play with the composition of your shot for something that is different. When the canyon is crowded, look up…there are also many interesting shapes over your head! And, remember the canyon is a 360-degree experience, so look behind you as well for shapes, light, and contours of the rocks.
Experiment
If you shoot RAW then your options are endless because you can play with your white balance and adjust the temperature of an image. If you are shooting using a JPEG, remember that the white balance is automatically adjusted and you really can’t define the temperature in a compressed JPEG file. Regardless of whether you are shooting RAW or JPEG, always watch your histogram. In a nutshell, the colors on the left side of your histogram represent dark tones and the colors as you move to the right represent the bright tones. Keeping your eye on the histogram is a more accurate representation of the tone distribution of your shot. Most photographers like to expose to the right of the histogram because it is easier to darken images in post-production than to lighten them where you may lose detail. Keep in mind that most shots that you see of the canyon are shot RAW and the white balance is tweaked.